
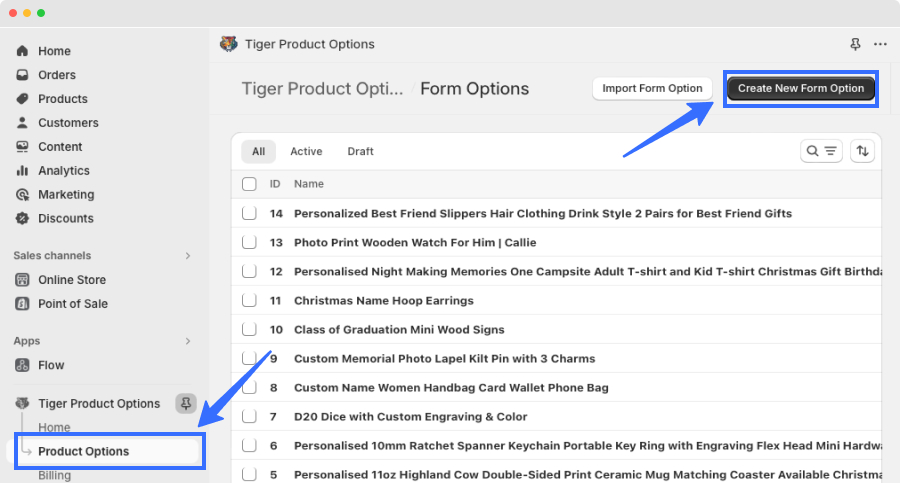
Open Tiger Product Options app > Product Options. In this page, you will find all your created forms. Click “Create new form option“
Form Pannel
The form creation panel includes 3 main sections:
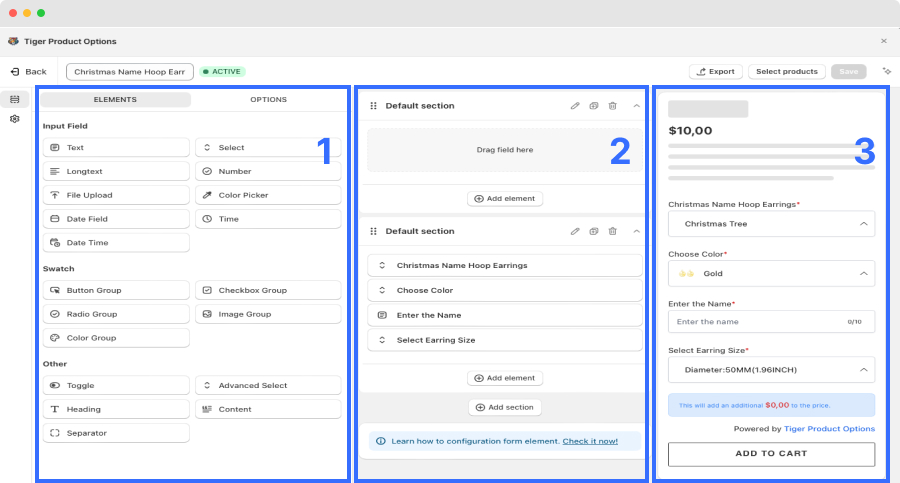
- Form Elements: list all element that you can use to build your product options, including input field, swatch, other.
- Section: where you add elements, each section includes one or multiple elements.
- Preview: you can see how the product will look like with the sections you build in step 2.
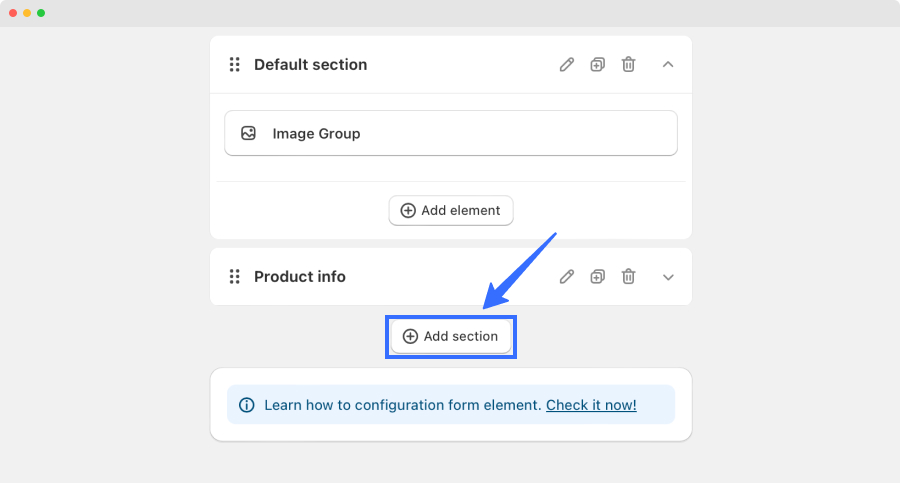
#1 Create Section
You can add as many sections you want to structure the product options the way you want.
Click “Add section” to add new section.
Then configure the section:
- Add section title
- Show or hide the section title in front-end
- Open the section by default or not.
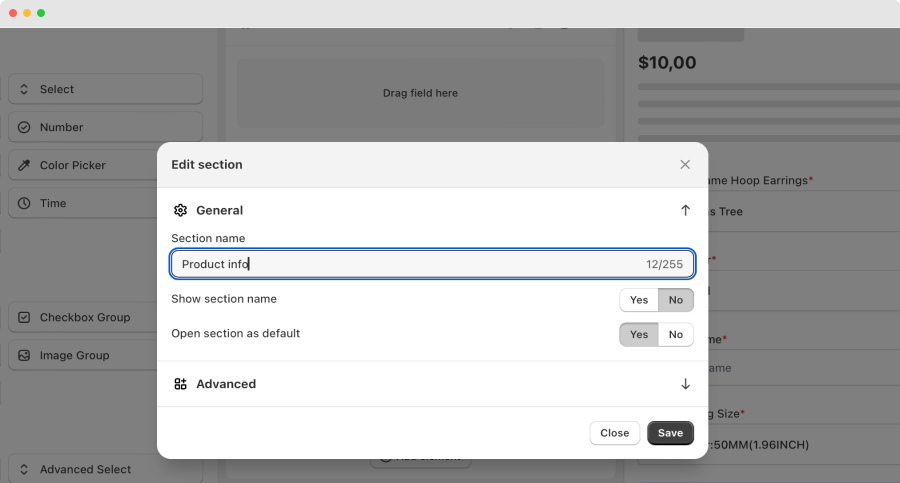
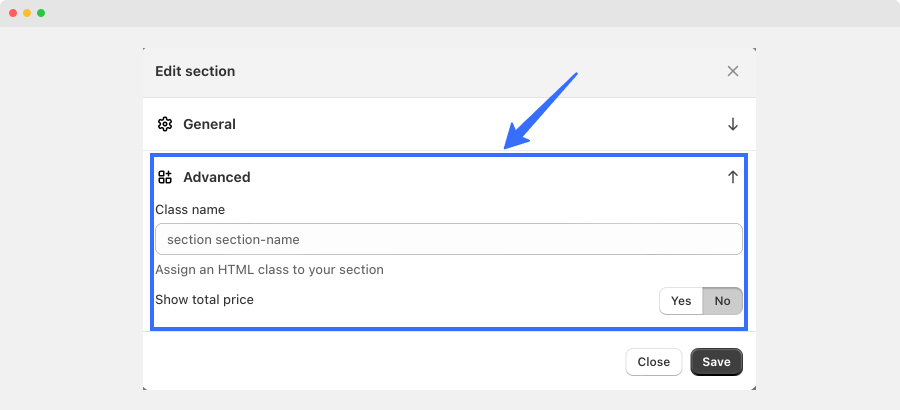
In the Advanced setting, you can add custom class to add specific style for this section. You can enable or disable the Show total price.
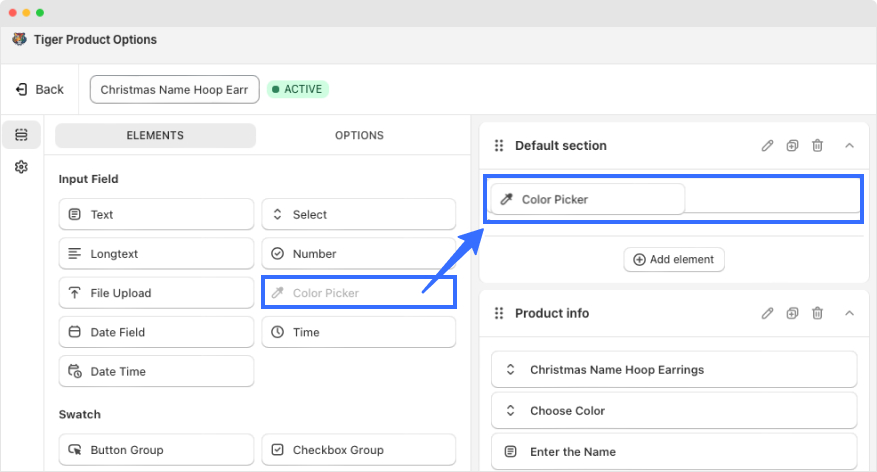
#2 Add element to section
Simply drag and drop the element from element list to the section you want.
#3 Configure element
Select the element to configure the element. For each element type, it has different settings.

Repeat the step until you get all element added to the form.